|
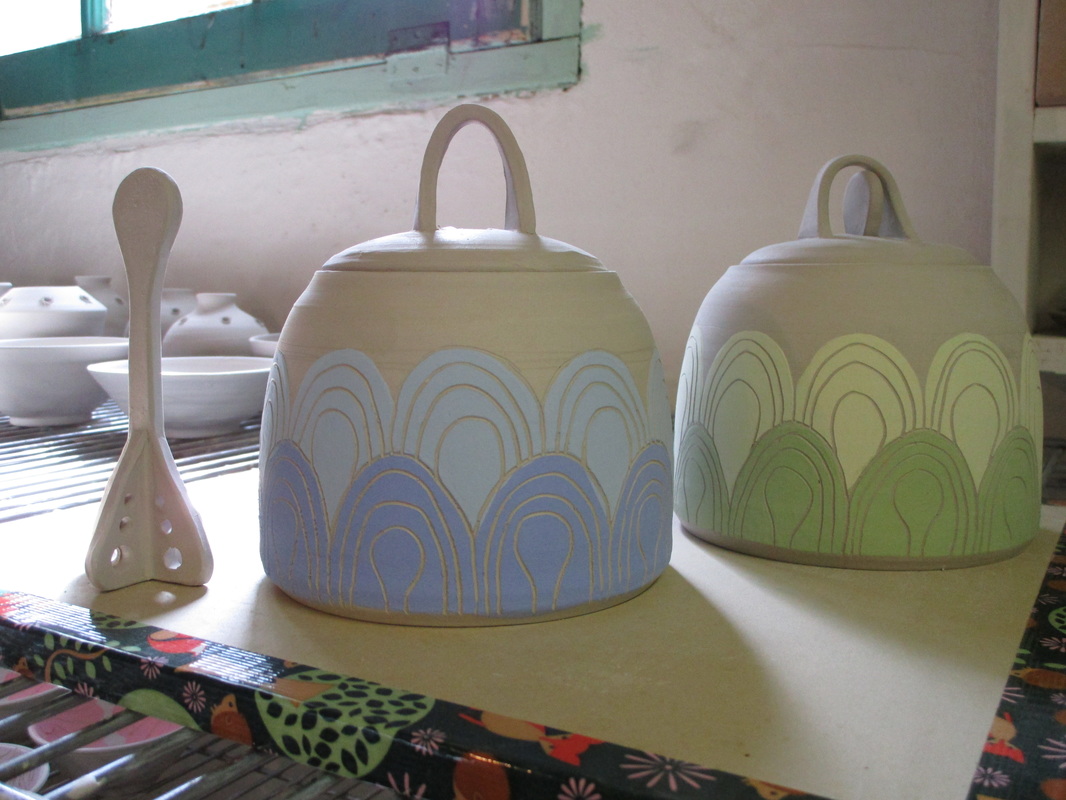
Lidded jars are one of my favorite items to work on, from sugar bowls to French butter dishes and garlic jars. I've even made a couple of urns for some beloved pets. Honey pots have been on my to do list for quite a while, but I hadn't really made time for myself to work on new shapes and imagery until recently.
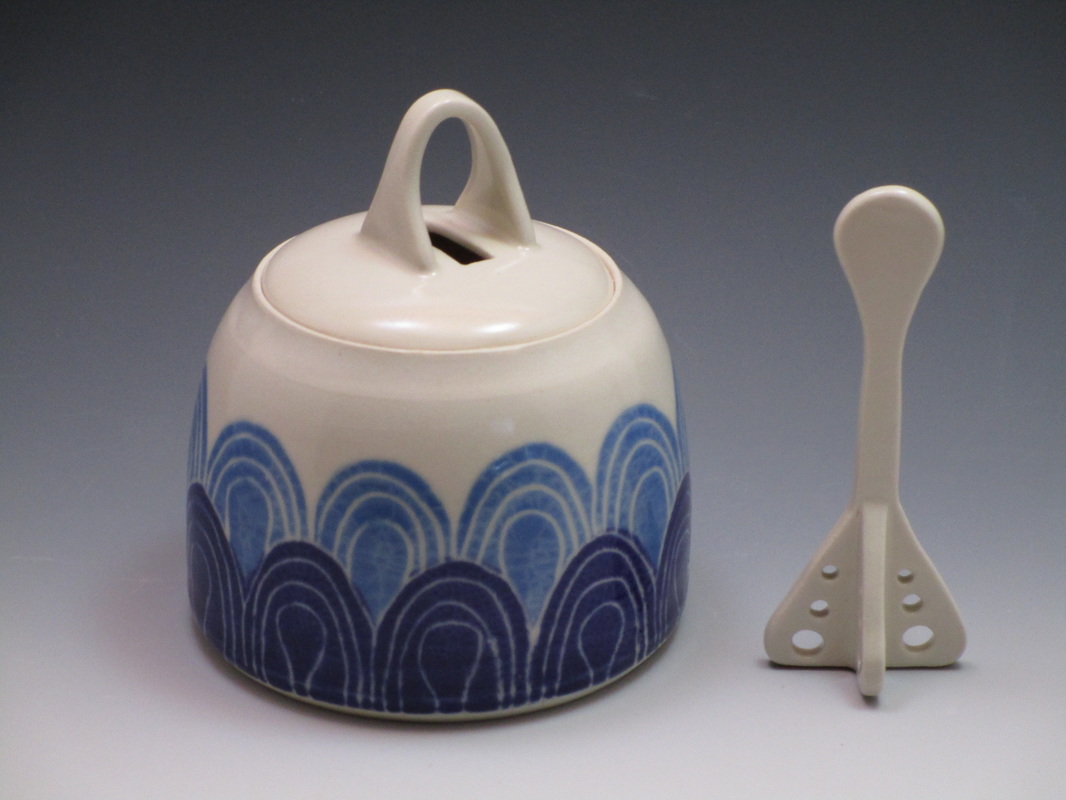
It was so nice to allow myself a couple of hours here and there during my studio time to just explore and experiment. I was pretty thrilled with the results of these honey pots and dippers, and so excited to open the kiln after the final glaze firing to see how they turned out. A kiln opening with new work is pretty exhilarating...that is until one of your new pieces had a stuck lid. Just for a little background info, I prefer to fire my lids with the main pot. It seems to create a better fit, less lid warping, and just fits into the kiln better. I brush wax resist on the lid and the gallery of where the lid sits. For the lidded areas that are waxed, I use a separate container of wax that has some alumina hydrate mixed in because the alumina hydrate helps the lid release after the firing. This last firing, I used a new wax resist from the Clay Art Center, called Reed's Wax. It has a smooth finish, and resists the extra glaze beautifully which made for less clean up of the pots before loading them into the kiln. I must not have added enough alumina though because when I unloaded the kiln, the blue honey pot lid was stuck on tight. I am usually pretty careful to wipe the excess glaze off between the lid and the pot but was really hoping I hadn't missed this one. Normally, I am not so attached to the pots that come out the kiln and because of the alumina trick it's pretty rare that there is a stuck lid. But I was pretty excited about these honey pots, especially the blue one. Lightly tapping the lid with a rubber mallet or wooden handle didn't work. Trying to pry off the lid with a fettling knife (which I would not recommend, BTW) didn't work. I finally Googled "stuck pottery lid" and came across a ClayArt archive with a few suggestions. So, I spritzed some water on the pot where the lid meets the main body and stuck it in the freezer, per the instructions, and waited for about 4 hours. After the pot had been in the freezer for a while, I took it out, dunked the bottom half of the pot (up to just below the rim where the lid rests) in somewhat warm water. Then tapped the lid again with the wooden handle, and the lid popped right off! I was skeptical, even though it makes sense that the thermal expansion between the hot and cold would help relieve any pressure. So, a few tricks to keep lids from sticking: Add a bit of alumina hydrate to your wax resist for lidded areas. Keep it in a separate container because if you accidentally wax the bottom of a pot with this mixture nothing bad will happen but it creates a gritty mess. I have also added a bit of food coloring to this mixture as a visual reminder that this is the alumina hydrate wax. If is is still stuck, try spritzing a bit of water between the lid and the pot, then freeze for a couple of hours. Pull out of the freezer, dunk the bottom part of pot (not the lidded part) in warm water. Lightly tap with a wooden handle. The lid should hopefully pop off. The Clayart thread suggested trying this a few times if it doesn't work the first time. Another trick that was suggested is to pour boiling water over the stuck area. I was saving that as a last resort and was happy to not have to try it.
15 Comments
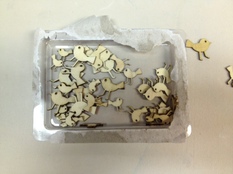 Die-cut Bird Pieces, used for creating a clay texture mat. Die-cut Bird Pieces, used for creating a clay texture mat. One technique that I have been using for a few years is to incorporate textured areas into thrown items, or into slab work (mainly buttons). I have recently started experimenting with different ways to add texture without using commercial rubber stamps, including designing and having my own custom rubber stamps produced, but that is a whole other adventure that I will share later. These laser cut wood piece caught my eye recently. Truthfully, I am a sucker for anything laser cut in general because of the precision and detail that show and had slowly amassed a collection of small laser cut wood pieces, with the idea of impressing them into clay and finally got around to doing it. 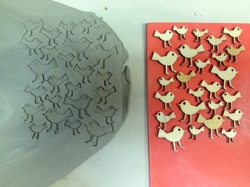 Craft foam sheets are a staple in my studio, mostly to roll our slabs, to minimize the canvas pattern from the table. I had read a tutorial about using craft foam to create textured mats on Chandra Debuse's blog here, which reminded me how useful those foam mats are. So, out came the trusty glue gun (which doesn't melt the foam, fyi) and those birds quickly turned into a nice textured mat. The beauty of this too, is that you can customize it to whatever size and shape that you need. 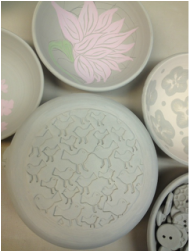 So far this mat has been used approximately 10 times and is still as sturdy as it was with the first use. The one challenge is pulling it off of the clay slowly, and as straight up (rather than at an angle) as possible. Because the die cut wood pieces are so precise, pulling it up at a angle can distort the individual impressions slightly. Here is an example of the texture on the lid of a french butter dish. If you try making your own, I would love to see your results. Enjoy! |
AuthorSarah Bak is a potter, mother, wife, trying to do it all with a bit of grace. Archives
February 2022
Categories
All
|
 RSS Feed